Water ingress damage from failed seams and seals due to wear and tear won’t be covered by your static caravan insurance policy so it’s really important to keep a regular check on these.
In this video, we went to SGM Caravan Sales in Cumbria, to explain the regular checks you can take to prevent water from getting into your static caravan.
Check your static caravan seams and seals
- Regularly inspect your static caravan seams and seals around windows and doors, the top corners of your caravan, where the roof meets the sidewalls, and along the panel joins, particularly before closing up for winter and then again when you return at the start of the season.
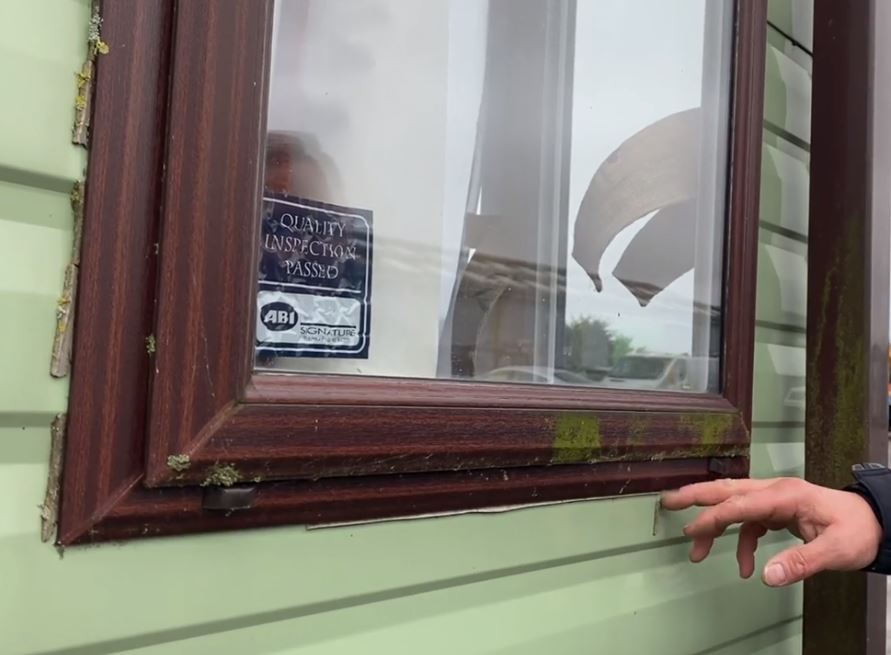
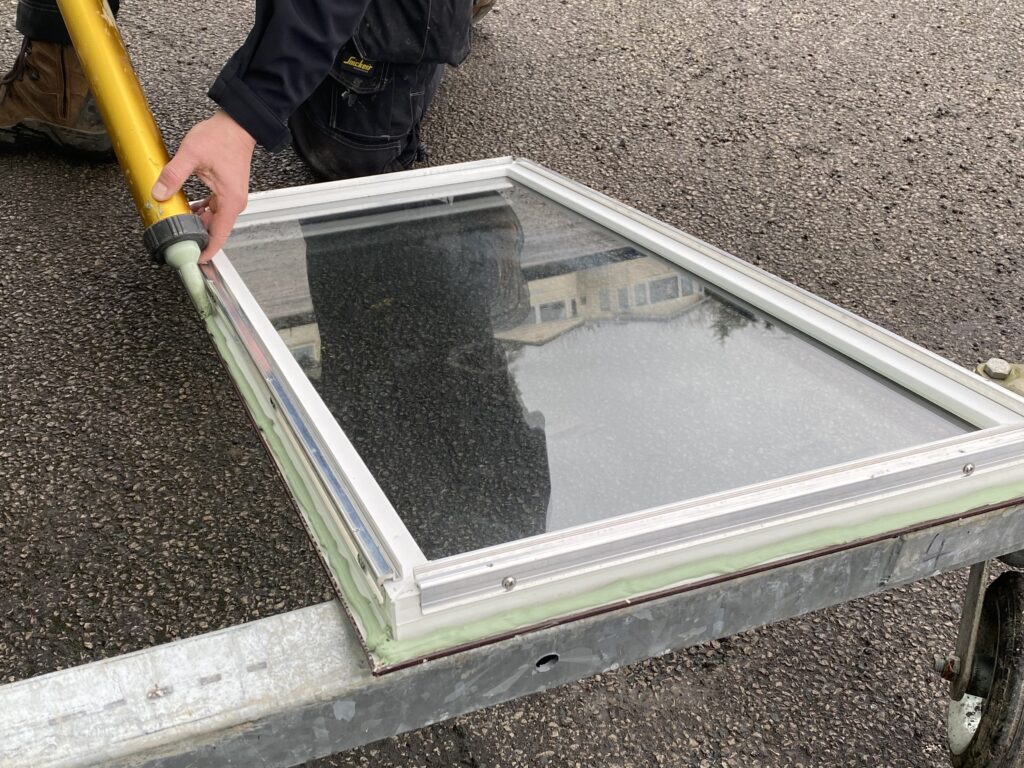
- Check seals around all windows by running your fingers along the seals to see if there are any cracks, missing sealant, or to make sure the mastic doesn’t come away. If the seals on your static caravan windows have cracked then a new non-setting mastic will need reapplying and the window will need to be removed and re-fitted. This work should be done by a professional repairer to make sure the caravan remains water-tight.
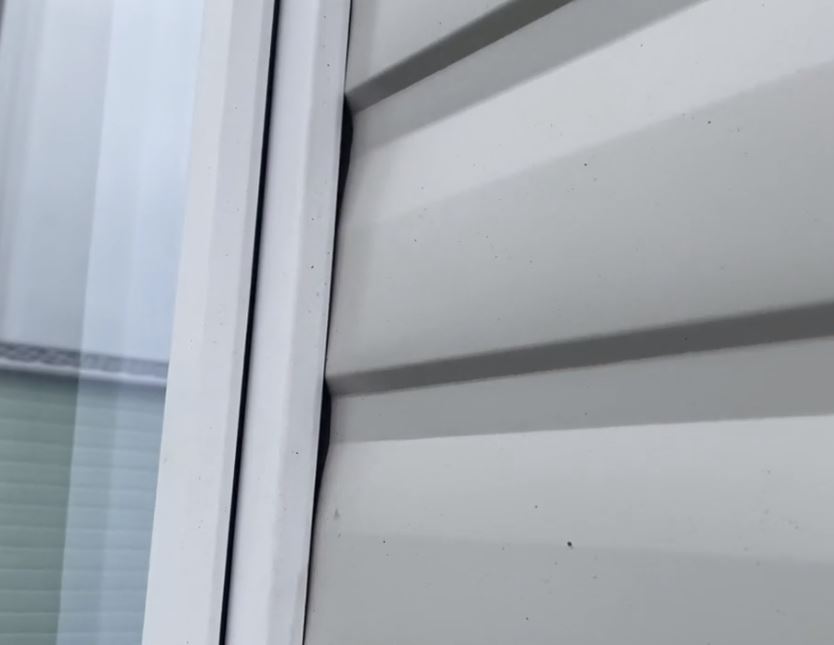
- If you have neoprene foam around your windows and corner seams then make sure it’s touching the side panels of your static caravan and that there aren’t any gaps. A visual inspection is recommended each year.
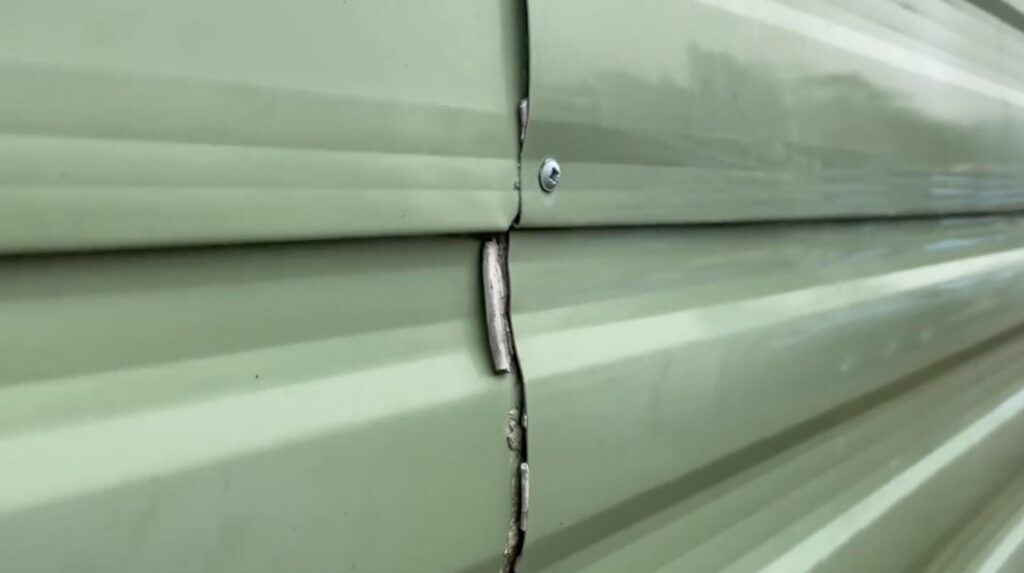
- If the mastic in your static caravan seams where the panels join has failed, in that it’s cracked, missing, or is coming away, then it will need removing and replacing as rainwater could get into these gaps. Again, this is best carried out by a professional to make sure it keeps water out of the static caravan.
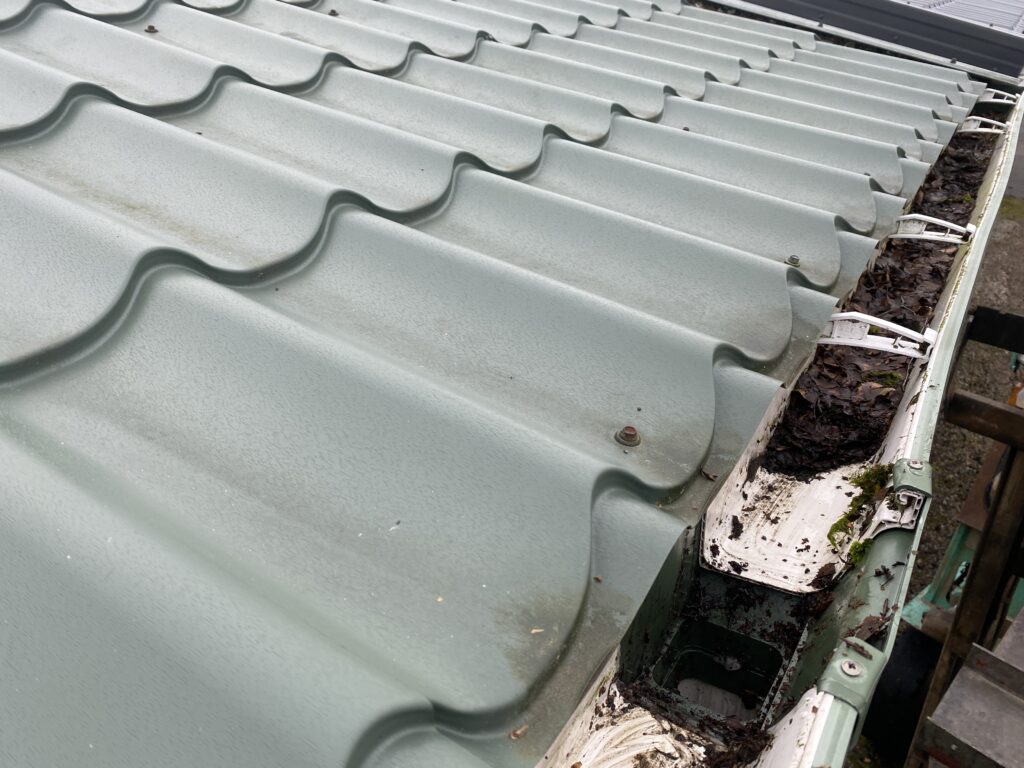
Check and clean guttering
- Regularly check the guttering around your static caravan to make sure it’s kept clear of leaves, debris, or any obstructions so it doesn’t become blocked and cause water to become trapped or worse still, seep into the caravan, underneath the roof. Cleaning your gutters and downpipes regularly will allow rainwater to drain away freely.
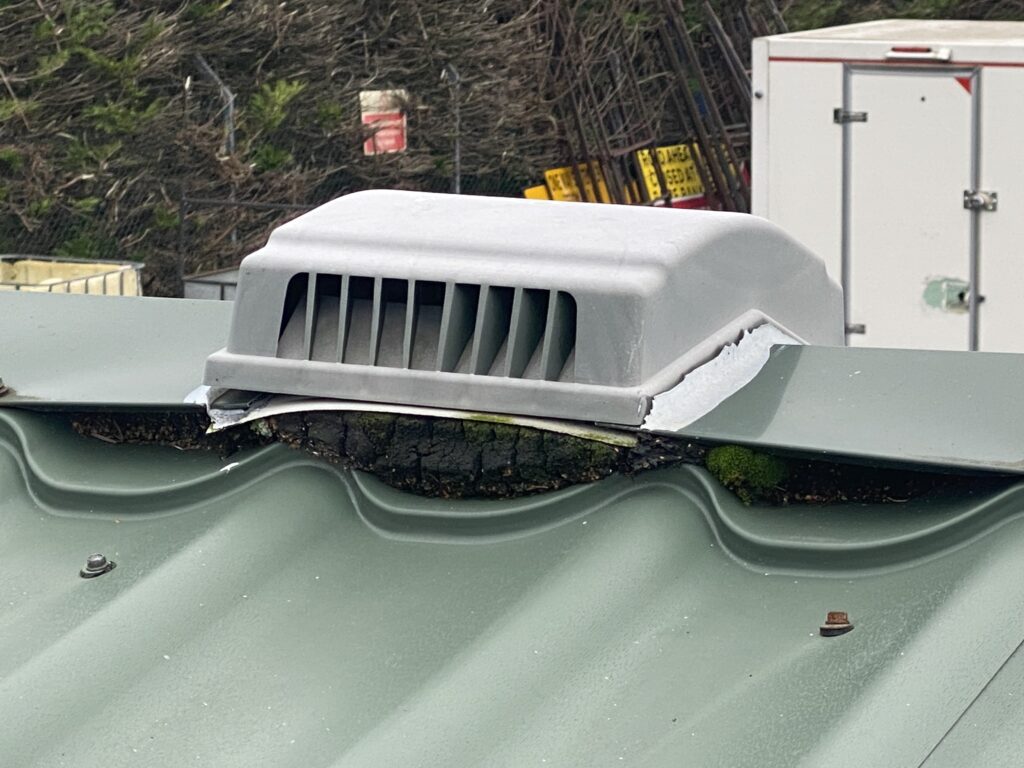
Check air vents
- There are many air vents on a caravan roof, which can also be susceptible to leaks over time if the seals around them crack or fail. It’s important to inspect your roof and exterior air vent joints regularly for damage and any holes or gaps, particularly before stormy weather strikes. Any damage should be repaired immediately by a professional repairer.
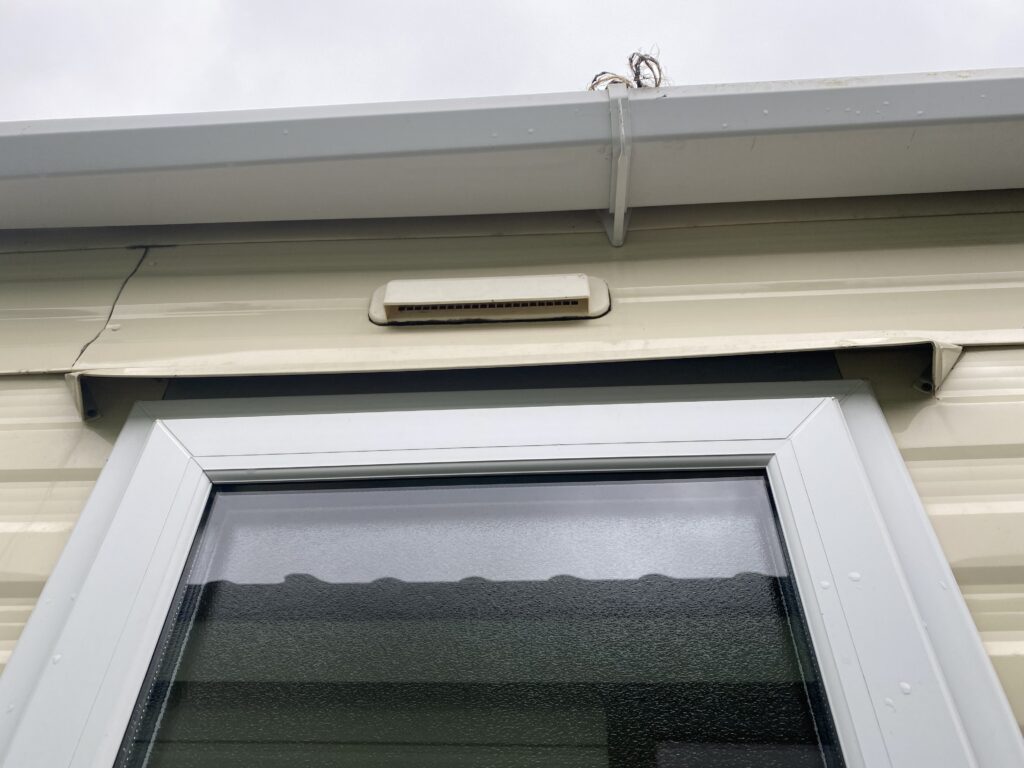
- Also check seals around side vents for any damaged sealant or cracks. Make sure they aren’t blocked so air can flow around your caravan to prevent future damp and mildew issues.
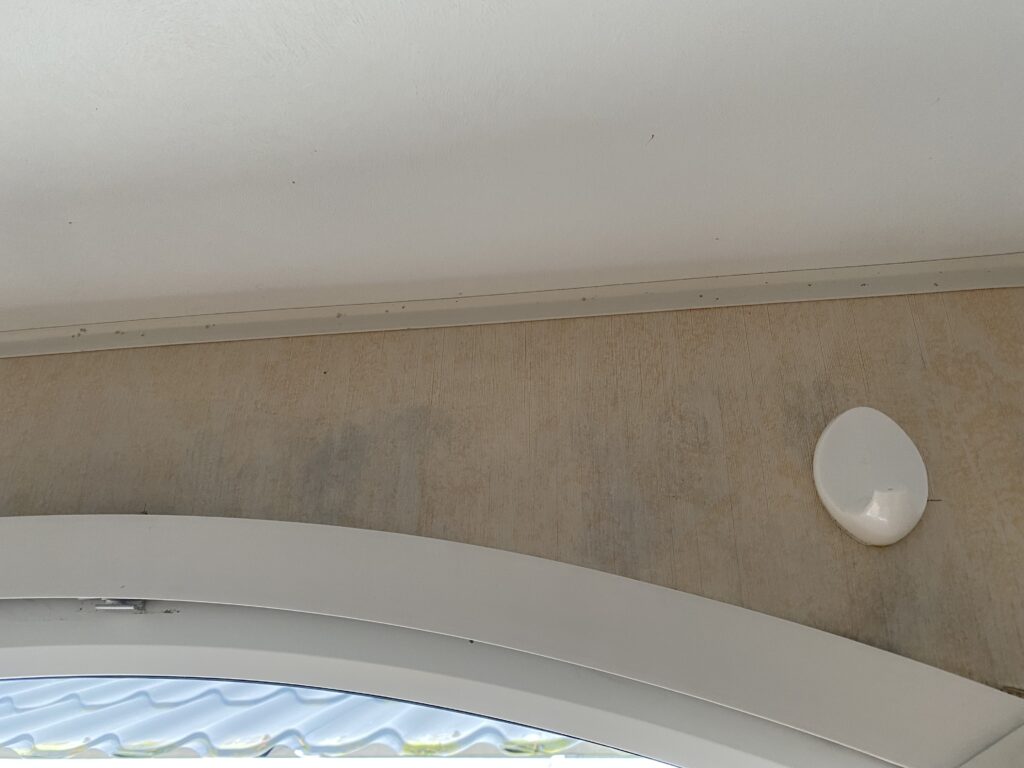
Check for damp
- Finally, to check for damp in the inside of your static caravan, go around the windows and top corners of your caravan with a damp meter. Your park owner might have a more accurate damp meter and be able to carry out this inspection for you for a small charge.
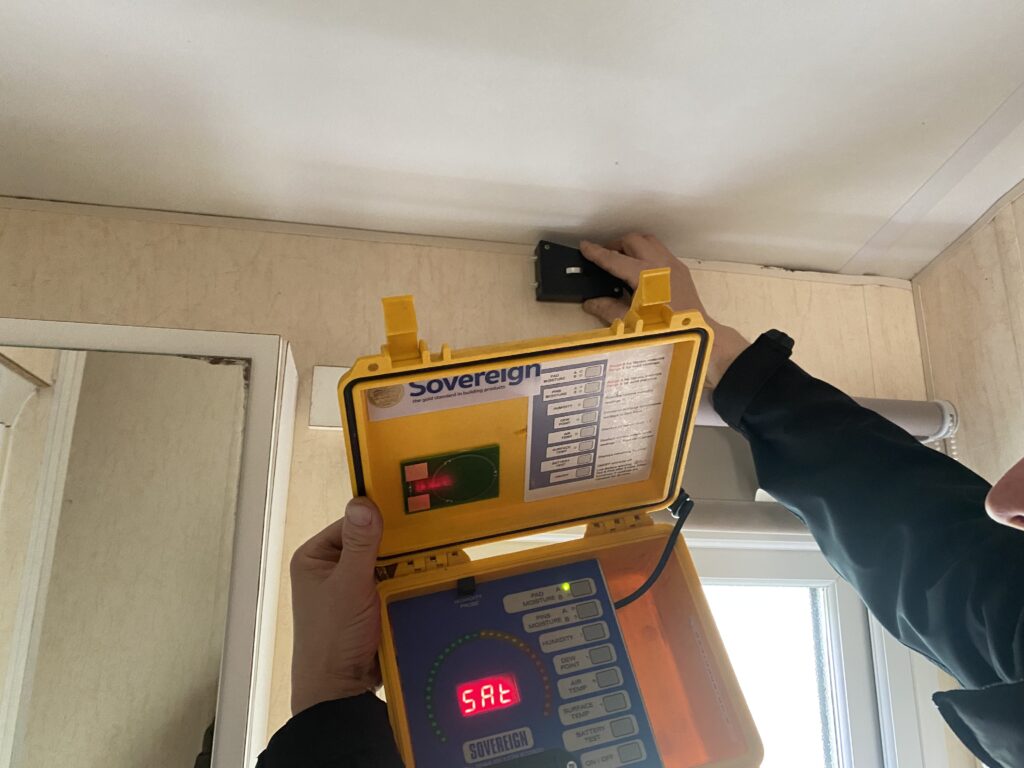
- Sometimes you’ll be able to see patches of discolouration on the wall boards or black patches in the corners. Make sure any damp is treated quickly to prevent the problem from getting worse.
Remember, static caravan insurance policies will not cover water ingress caused by general wear and tear so it’s important to look after your holiday caravan by carrying out these simple checks throughout the year.
For any questions about making a static caravan insurance claim, and if you’re unsure what isn’t covered by your Leisuredays insurance policy, you can speak to our Claims Liaison Team on 01422 396812.
Over to you…
Have you experienced water ingress in your holiday caravan or got any tips to share? Feel free to make a comment in the box below.


Thank you for your video pleased I watched
Thanks for the great feedback David. Glad you found it useful.
Thanks for sending me this information video,I have just had my roof vent changed and some roof screws changed due to a damp patch showing on the inside roof panel.Your info about the exterior panel sealing is just like mine,the sealant has gone hard and you can scrape it off with your finger nail.I bought my van in 2017 and it is the same make as in your video I am now having my panels resealed
Thank you for your info about Floe I have had it now for 3years it is well worth the money for draining down each year
Thanks for the great feedback Kenneth
Hi.
Did you buy the van NEW in 2017? As if so, it’s disgraceful that the mastic and vents have ‘failed’ in such a short time. One would hope that statics would have more quality in design and manufacture than motorhomes, which are scandalously poor, even from new, with poor quality materials and workmanship.
The panels around the rear window were very flexible. Turned out the battens had rotted, and on further checking the wall boards inside this part , we’re in parts soft .It would appear damp had been coming in for a while. Cost over £2’ooo to rectify